Decompression and Placement of Interbody Spacer
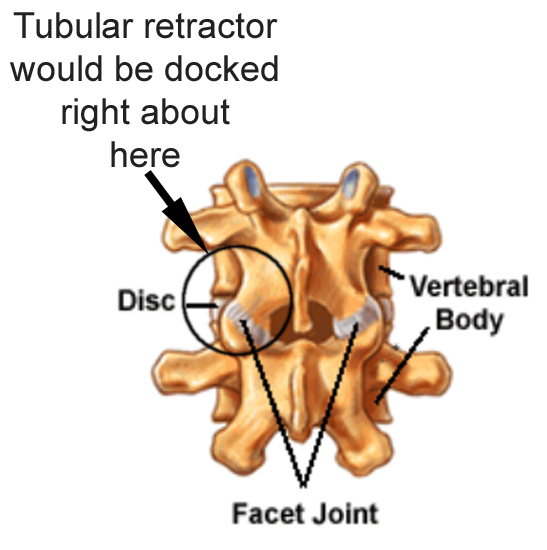
On first look through the tube, a thin layer of muscle can been seen. After removing the muscle, the joints in the back, referred to as facet joints, can be seen, with this diagram showing where the tube would contact the back part of the spine. A spinal nerve exits deep to the region outlined by the circle on this diagram.
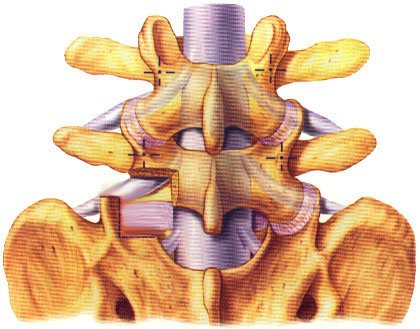
The facet joint is drilled away exposing the disc underneath and the exiting nerve root above. Note that the nerve root getting ready to exit from the level below does not need to be retracted much to have good exposure to the disc
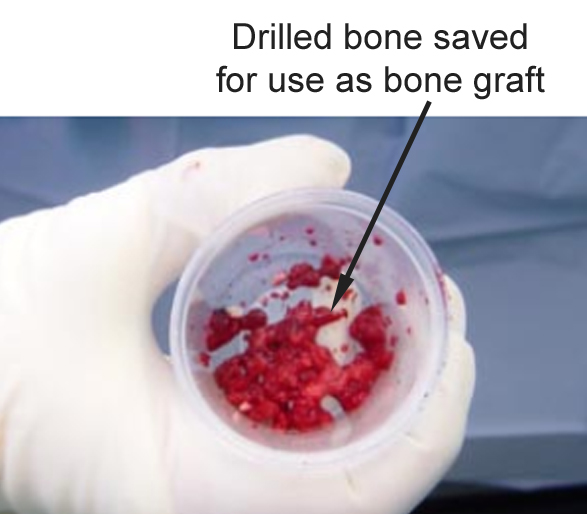
While drilling the facet joint away, the bone drillings are saved for use as bone graft.
This graft is combined with a special protein called BMP (stands for Bone Morphogenic Protein), which makes bone grow.
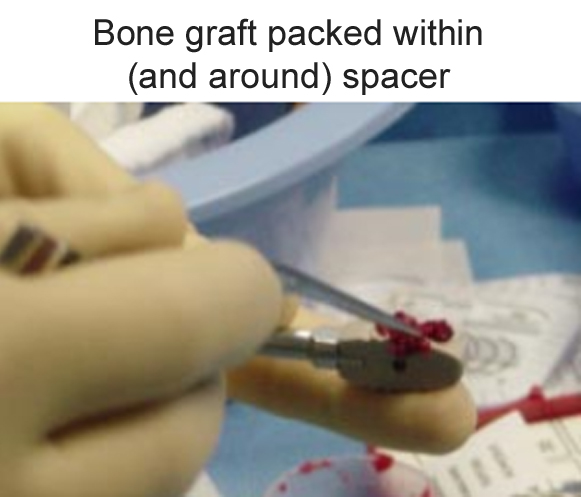
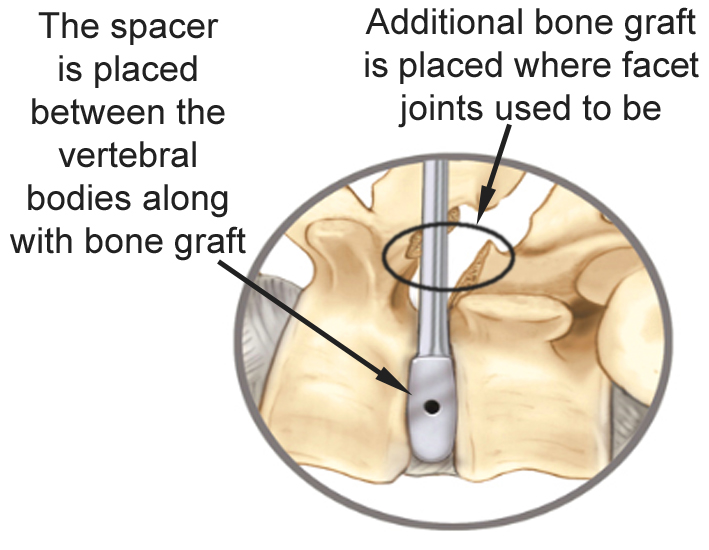
The spacer which goes between the vertebral bodies is pictured here. This spacer, which is made of a special plastic that has the same mechanical properties as bone, is shaped like a small brick with rounded edges, with a hollow center to contain the bone graft and BMP.
The spacer is invisible on X-ray, but has metallic markers in it, so the position of the spacer can be noted.
This spacer, along with some additional bone graft, is placed between the vertebral bodies. This spacer helps keep the vertebral bodies from collapsing (which would lead to less room for the nerves), and creates an environment favorable to fusion between the bones.
Additional bone graft is placed behind the nerve roots as well for what is called a posterolateral fusion.
To return to previous page: Min Invasive Lumbar Fusion, page 1
To learn about pedicle screw fixation: Min Invasive Lumbar Fusion, page 3
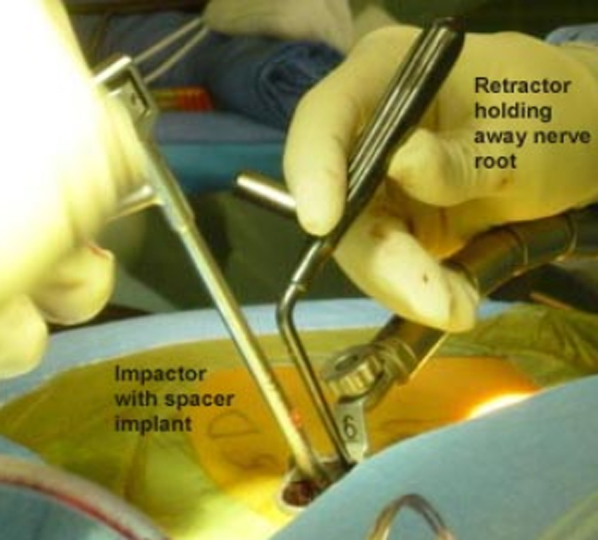
As the spacer is put in place, retractors are used to be sure the nerve root is not damaged. All of the nerve work is done with the aid of an operating microscope for magnification.
